
Start With the Bundle, Not the Icon
A classic Mac .saver file is usually a bundle—it looks like one file in the Finder, but behaves like a folder containing code and resources. Treating it like a flat image file often leads to messy installations and system instability. Apple’s Bundle Programming Guide explains why dragging a bundle around casually is different from moving a simple document. The internal directory structure contains critical components, specifically the Contents/MacOS/ folder and the Info.plist file, which dictate how the system interacts with the executable.
Frame your installation approach around reversibility. Install the bundle in the user Library first. Test it thoroughly before relying on it. If the software fails, you can remove it cleanly. Prioritizing the user Library ensures that a corrupted bundle cannot take down the system-wide preference pane.
Preflight Checks Before You Run an Old Screen Saver
A proven method is to keep the original download untouched. Duplicate the .saver bundle before experimenting. Note exactly where the file came from. Source quality matters immensely when dealing with legacy executables. Prefer archived developer pages, known Mac utility repositories, or bundles saved from an existing vintage install. Avoid anonymous repacks when possible.
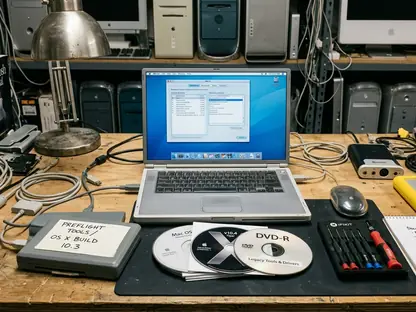
You can inspect the bundle without launching it. Chose manual inspection via the contextual menu over automated scanning tools to give yourself direct visibility into the executable architecture. Control-click or right-click the file, choose Show Package Contents, and look for ordinary bundle folders such as Contents, Resources, MacOS, and Info.plist. Typical vintage screen saver bundle sizes run from roughly 150KB to 3MB; anything significantly larger warrants closer scrutiny.
Recommendation: Use the following checklist to verify the file before moving it into any system directory.
Legacy Screen Saver Preflight & Testing Checklist
- [ ] Duplicate Original: Create a copy of the .saver file before moving it.
- [ ] Inspect Contents: Right-click > Show Package Contents to verify Contents/MacOS/ exists.
- [ ] Verify Path: Ensure installation is strictly in the user Library.
Choose the Right Screen Savers Folder
The default path is ~/Library/Screen Savers/ for a single user account. This directory isolates the executable to your specific environment. If the folder does not exist, you can create it using the Terminal command syntax: mkdir -p ~/Library/Screen\ Savers.
The broader path is /Library/Screen Savers/ for all users on the Mac. I rejected this approach for initial testing because it requires administrator privileges and exposes all accounts to potential instability. Never modify /System/Library/Screen Savers/. That directory is reserved for Apple-supplied system components and is significantly harder to undo safely if a third-party file causes a conflict.
Install a.saver for One Account First
Begin the installation by quitting System Preferences entirely. Open the user Library. You can use the Command-Shift-G keyboard shortcut to access hidden directories quickly. Create or open the Screen Savers folder, and drag in the .saver bundle.
User-level installation is easier to reverse. It requires no administrator password, creates no system-wide exposure, and maintains a smaller blast radius if the saver is unstable. Keep the original filename intact during the initial drag-and-drop. Archival documentation of classic OS X utilities confirms this behavior. Leaving the file name unchanged ensures that any troubleshooting notes, crash references, or archive records perfectly match the archived file name.
Test the Saver Without Making It Your Default
Open System Preferences, go to Desktop & Screen Saver, and select the new saver only after confirming a built-in saver is available as a fallback. Use the Preview function first rather than setting the saver as the automatic idle screen saver immediately—this isolates the rendering engine process from the main window server.
Watch the system behavior closely. Look for a preference pane freeze, a black preview area, distorted graphics, or repeated beachballing. Pay attention to hardware strain. Fan activity spikes within roughly 15 to 45 seconds of rendering unoptimized OpenGL graphics indicate a poorly optimized loop. If the saver refuses to exit, you need to intervene.
If the Preview Hangs, Back Out Methodically
Start with non-destructive recovery. Press Escape, move the mouse, use Command-Tab, or wait briefly before forcing anything. A common failure mode involves the ScreenSaverEngine process failing to release the display after the Escape key is pressed.
If the saver locks the interface, use Force Quit to stop System Preferences. If the screen remains hijacked, you must terminate the process identifier ScreenSaverEngine in the system activity monitor. Joint work from the early years of the Mac UI Preservation Project established these baseline recovery protocols. Another frequent issue is the preference pane crashing only when a legacy binary is loaded on an incompatible architecture without translation layers. If the Mac remains responsive, immediately switch back to a built-in screen saver before deleting the experimental bundle.
Remove a.saver Without Leaving a Mess
A guaranteed clean removal requires a specific order of operations. Switch to a built-in saver. Quit System Preferences. Delete the .saver bundle from the exact folder where it was installed. Reopen preferences to verify the interface loads correctly.
Distinguish user-level removal from all-users removal. The ~/Library/Screen Savers/ path affects one account, while /Library/Screen Savers/ affects every account using that shared installation. Move preference files to a temporary staging folder rather than immediate deletion, providing a fallback if the preference pane continues to crash. This usually involves targeting the screensaver .plist file located in the ByHost directory. One catch: deleting the hardware-specific .plist file in the ByHost folder only resets the configuration for that exact logic board; migrating the drive to a different machine requires clearing a differently named file.
Risk Factor: Move the bundle to the Trash but do not empty it until after a restart or successful recheck, ensuring recovery remains easy if you deleted the wrong file.
Label the Saver So Future You Knows What Happened
Keep a simple archive folder with the original .saver, a source note, the OS X version tested, the Mac model if known, and the outcome. Treat the test result as the certified record.
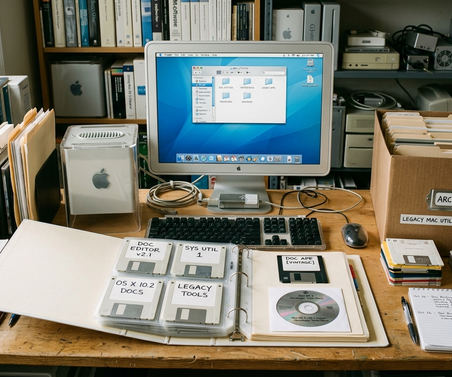
Standardized on hyphenated, plain-language tags to ensure local search indexing accurately surfaces compatibility results across external archive drives. Use tagging formats such as crashes-preview-10.4, ppc-only-suspected, tested-opens, or removed-from-user-library. For vintage Mac hobbyists and software archivists, the installation path is only half the story. The test result dictates whether the file is worth keeping.
A Complete Installation Lifecycle
To demonstrate this workflow, we will process a sandboxed, hypothetical file named OldAqua.saver. Download OldAqua.saver to your Downloads folder. Right-click the file and select Duplicate, creating OldAqua copy.saver. Right-click the original OldAqua.saver and select Show Package Contents. Verify that the Contents/MacOS/ folder exists inside the bundle.
Press Command-Shift-G in Finder and type ~/Library/Screen Savers/. Drag OldAqua.saver into this folder. Open System Preferences and navigate to Desktop & Screen Saver. Select the Flurry screen saver first to ensure the pane is stable. Click OldAqua in the list and click Test. Let the preview run for about 30 seconds to monitor for fan spikes. Press Escape to exit the preview.
To test system recovery, set the activation time to 1 minute. Leave the computer untouched. Watch the idle wait, roughly 2 to 3 minutes, for the restart test to confirm the system wakes from sleep correctly. Move the mouse to wake the display. Switch the active screen saver back to Flurry. Quit System Preferences. Navigate back to ~/Library/Screen Savers/, drag OldAqua.saver to the Trash, and restart the Mac. Finally, rename OldAqua copy.saver to OldAqua-tested-opens.saver and move it to your permanent archive drive.





Discussion
Share your thoughts.
Write a Comment