
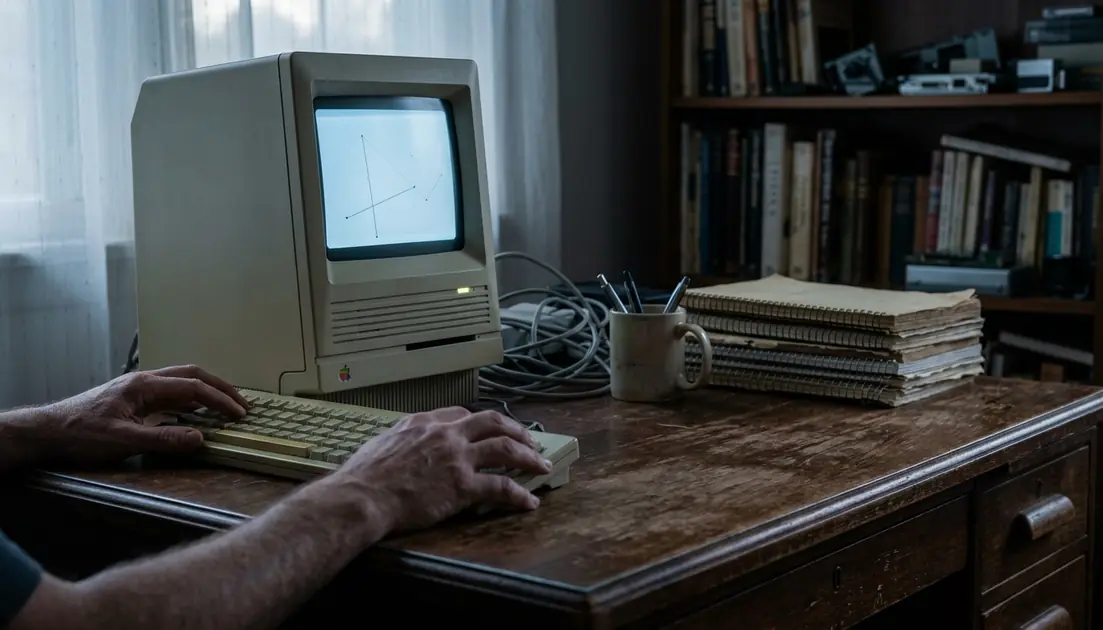
A good screensaver on an older Mac should add character without turning the fans into background noise. The best choices tend to be visually restrained: a clock drawn with clean lines, a folder of carefully sized photographs, or a starfield that recalls the early days of desktop effects.
This guide covers ten screensaver styles suited to PowerPC G4 and G5 systems and early Intel Macs used for vintage computing, display, or archival work. The goal is not to make these machines look modern. It is to preserve the responsive, personal quality that made classic OS X utilities enjoyable in the first place.
What “Low-CPU” Means on a Legacy Mac
A low-CPU screensaver uses restrained animation, modest image processing, and limited scene complexity. It should settle into a steady workload rather than repeatedly decoding large files or rebuilding the entire scene.
Processor use tells only part of the story. Early-2000s Radeon and GeForce hardware often has just 32MB to 64MB of VRAM. Display resolution, graphics drivers, and the installed OS X release can decide whether an effect remains fluid. A module that behaves well at 1024x768 may struggle at 1280x1024 because it must update substantially more pixels.
We established the practical baseline by watching sustained thermal load rather than treating one processor peak as a failure. A brief rise during startup matters less than a module that keeps the machine hot throughout its run. The preferred saver stays reasonably close to the Mac’s idle temperature and releases its resources cleanly after wake.
Critical Insight: “Low-CPU” does not mean motionless. It means the visual effect remains proportionate to the graphics hardware, memory, and display resolution available.
The Effects That Cost Older Macs the Most
What is the easiest effect to render? Static images and basic two-dimensional drawing generally sit at the light end of the scale. Live compositing, dense particles, video decoding, reflections, blur, and complex 3D scenes sit at the other end.
Appearances can be misleading. A quiet photo mosaic may continuously rescale source files and regenerate tiles. A translucent clock may trigger more compositing than a plain moving sprite. Quartz Composer modules are especially difficult to place in the safest tier because their overhead changes with the composition, OS release, and graphics driver.
Frame rate is another useful control. Capping animation between 15 and 24 frames per second usually makes more sense on these systems than chasing a 60 fps default. Slow decorative motion rarely benefits from the extra updates.
Watch for transition spikes as well as steady load. A slideshow can idle lightly for a minute, then pause for 2 to 4 seconds while it decodes and resizes the next oversized photograph. That pattern points to asset preparation rather than a generally unsuitable Mac.
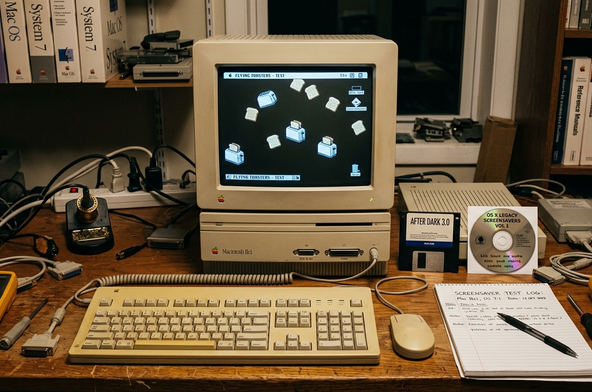
Risk Factor: An effect that looks smooth in the preference-pane preview may still overwhelm the graphics path when rendered across the full display.
1–3: Photos, Clocks, and Restrained Text
1. Slow Photo Slideshow
Start with a curated folder rather than an entire photo library. Period desktop photography, old Mac artwork, and a small set of personal images suit the format well. Use a long display interval of 60 to 120 seconds and select a plain dissolve.
Prepare the images before copying them to the Mac. For a 1024x768 display, resize each source image to exactly 1024x768 pixels when the crop permits. This prevents the saver from repeatedly decoding camera-sized files and scaling them during every transition.
Disable pan-and-zoom movement, page turns, reflections, and rapid randomization. A simple dissolve preserves the photographic feel without asking a G4 to perform continuous image transforms.
2. Plain Digital or Analog Clock
A clock is often the safest animated choice because only a small part of the screen changes. Choose flat hands or simple numerals on an opaque background, with updates no more frequent than the display requires.
CoreGraphics drawing routines versus OpenGL texture loading is the important distinction here. Basic CoreGraphics lines and text usually impose a predictable load. Clocks that load textured faces, reflective glass, animated shadows, or external OpenGL assets turn a utility display into a small 3D scene.
3. Restrained Text Display
A single line of text drifting slowly across a black background can provide the familiar terminal-like mood without running an actual terminal simulation. Keep the font local, the text short, and the movement linear.

Avoid live feeds, rapidly changing character grids, translucent trails, and glyphs that rotate in three dimensions. The nostalgic effect comes from typography and pacing, not from filling every pixel.
4–7: Classic Motion Without a Heavy 3D Scene
4. Sparse Starfield
Use a black background with a modest number of small stars and a capped animation speed. Basic point movement can be economical because each star needs little more than a position and a brightness value.
Keep the total between 50 and 100 on-screen particles. Textured planets, volumetric fog, lens flares, and very high star counts change the workload quickly. They also obscure the clean, early-computing look that makes a sparse starfield appealing.
5. Bouncing Logo or Geometric Shape
One flat logo rebounding from the display edges is hard to beat for nostalgia. A second shape can add variation, but there is little benefit in turning the screen into a crowd of colliding objects.
Keep each sprite below 128x128 pixels, use simple edge collisions, and remove transparency if the module permits it. A solid shape over a plain background gives the graphics hardware less blending work.
6. Simple Line Trails
Choose a saver that moves one or two lines and retains only a short trail. This creates visible motion without the particle count of a full light-painting effect.
Long trails often require repeated blending across large parts of the frame. Shortening the trail, reducing line thickness, and selecting one color can make the same module substantially calmer.
7. Basic Sprite Animation
A small pixel character walking across the screen works well when the animation uses a short sequence of pre-drawn frames. It also fits naturally beside mac icons & themes from the same era.
Two-dimensional fluid simulation was considered for this category, but grid calculations consistently saturated G4 processors within about 45 seconds. Pre-drawn sprite frames provide movement without recalculating an evolving surface. That screen test cannot cleanly separate graphics-driver overhead from processor load, so treat it as a practical screening method rather than a hardware diagnosis.
8–10: Decorative Effects Worth Using Carefully
8. Slow Gradient or Color Wash
A gradual transition between a small set of colors can look polished while remaining simple. Set the color wash to a 12-to-15-second cycle and render it as one full-screen transition where possible.
Basic color cycling is not the same as a shader-heavy plasma effect. Turbulent textures, several blended layers, and rapid full-screen updates create far more work despite sharing a similar thumbnail in the screensaver panel.
9. Low-Poly Wireframe Geometry
Use one slowly rotating wireframe object with flat lines, no textures, no reflections, and no real-time lighting passes. A modest output resolution matters more than polygon detail when the saver covers the entire display.
Hardware-accelerated OpenGL wireframes tend to maintain low processor use on Mac OS X 10.4.11 or later. Earlier driver implementations may fall back to software rendering for certain polygon types, turning a visually sparse object into a processor-heavy effect.
10. Prebuilt Photo Mosaic
A mosaic can work if the tiles are prepared in advance. Resize them to 64x64-pixel thumbnails and use a module that arranges existing tiles instead of rebuilding the set from full-size photographs during every run.
Keep the source collection small and disable continuous zooming. The finished mosaic may look elaborate, but its runtime behavior should resemble basic image placement rather than live image analysis.
Recommendation: When a decorative saver offers quality presets, begin with its lowest object count and simplest background. Increase one setting at a time only after a full-screen test.
Tune the Saver Before Blaming the Mac
A promising module can feel rough simply because its defaults target newer hardware. Work through the controls in a fixed order:
- Lower the object or particle count.
- Reduce animation speed and cap the frame rate if that control exists.
- Disable transparency, reflections, blur, and lighting.
- Choose a black or solid-color background.
- Simplify fades, zooms, and scene transitions.
- Retest at the Mac’s normal display resolution.
The final step matters because a small preview pane does not represent full-screen rendering. Run the saver for 3 to 5 minutes and listen for a sustained change in fan noise. Brief activity during launch is less concerning than a fan curve that continues climbing.
Preference Pane Crashes Versus Screensaver Engine Panics
Choppy but stable motion usually suggests excessive rendering work. A black screen, a preference-pane crash, or a Mac that fails to wake points more strongly toward a module, architecture, or OS mismatch.
If System Preferences crashes as soon as the module is selected, remove the corresponding .saver file from ~/Library/Screen Savers/. Crashes while the saver is already running may instead involve the screensaver engine exhausting memory or encountering an incompatible rendering call.
Do not keep reopening a module that prevents normal wake behavior. Boot without launching it, remove the file, and return to a known-stable saver before continuing any tests.
Run a Three-Minute Screensaver Comparison
Use three candidates: a plain clock, a sparse starfield, and a slideshow made from pre-resized images. Together they compare basic drawing, lightweight motion, and periodic image decoding without requiring diagnostic software.
- Close active applications and begin from a cold desktop.
- Run the plain clock full-screen for 180 seconds.
- Wake the Mac and allow 10 to 15 seconds for the Finder to become fully responsive.
- Repeat the same process with the sparse starfield and the prepared slideshow.
- Use the same display resolution and idle applications for all three runs.
During each run, watch animation smoothness and listen for changes in fan behavior. The 180-second window reaches the point where aluminum-chassis laptops often begin applying more aggressive fan curves. This remains a practical screen test, not a formal benchmark—it is meant to expose an obvious mismatch without leaving a questionable module running unattended.
Start now by resizing three slideshow images to your display’s native resolution, then run the clock, starfield, and slideshow comparison in that order.


Discussion
Share your thoughts.
Write a Comment